When you’re using Deductible Duck, especially between January and April of any given year, you likely have to go back to the “old” tax year and update, add or export your donations from that previous year. This article explains how to handle that in Deductible Duck.
1. Start from the Dashboard
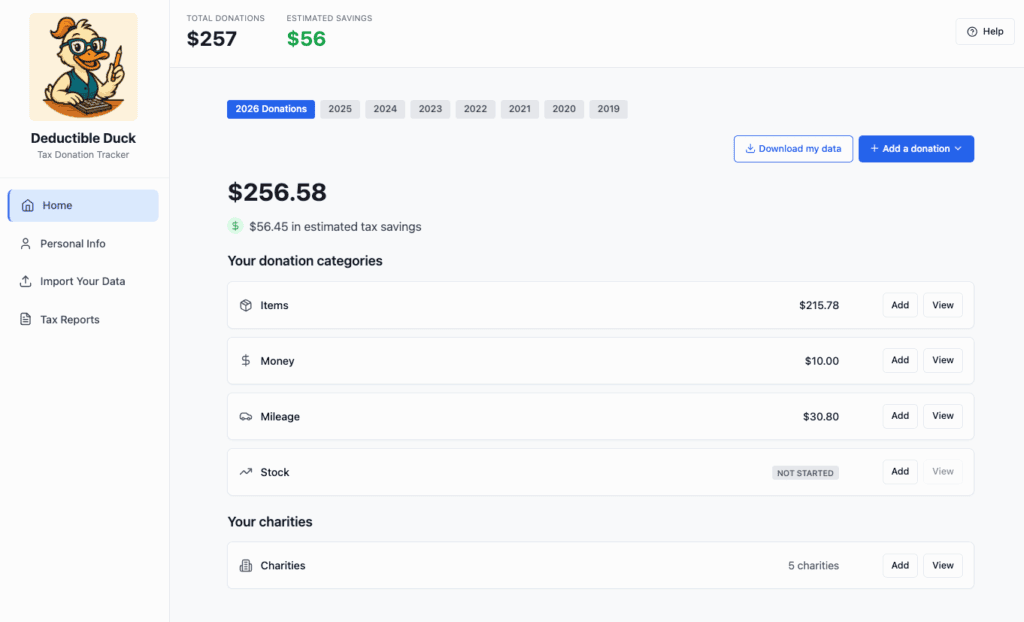
When you’re logged into Deductible Duck, you’ll start from the Dashboard after your login. Your dashboard may look different, but the important thing to notice is that your tax year is set to the CURRENT YEAR. In this example, it’s 2026 and I’m logging in, but I want to look at my donations from 2025. This is what I see after login:
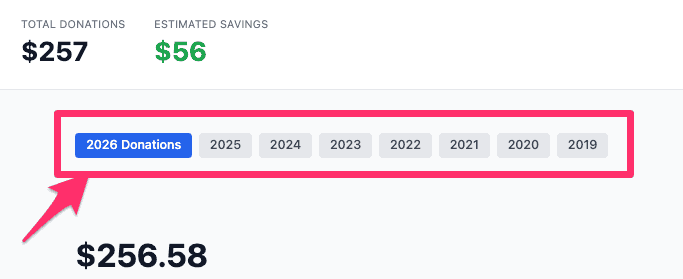
2. Look at the dates on top
Notice the top section with the tax years:
3. Select the tax year you want to use
In my example, it’s 2026 so I always start in the current tax year of 2026. Since I want to go to 2025 Donations and update them there, I need to click on that year instead, like this:
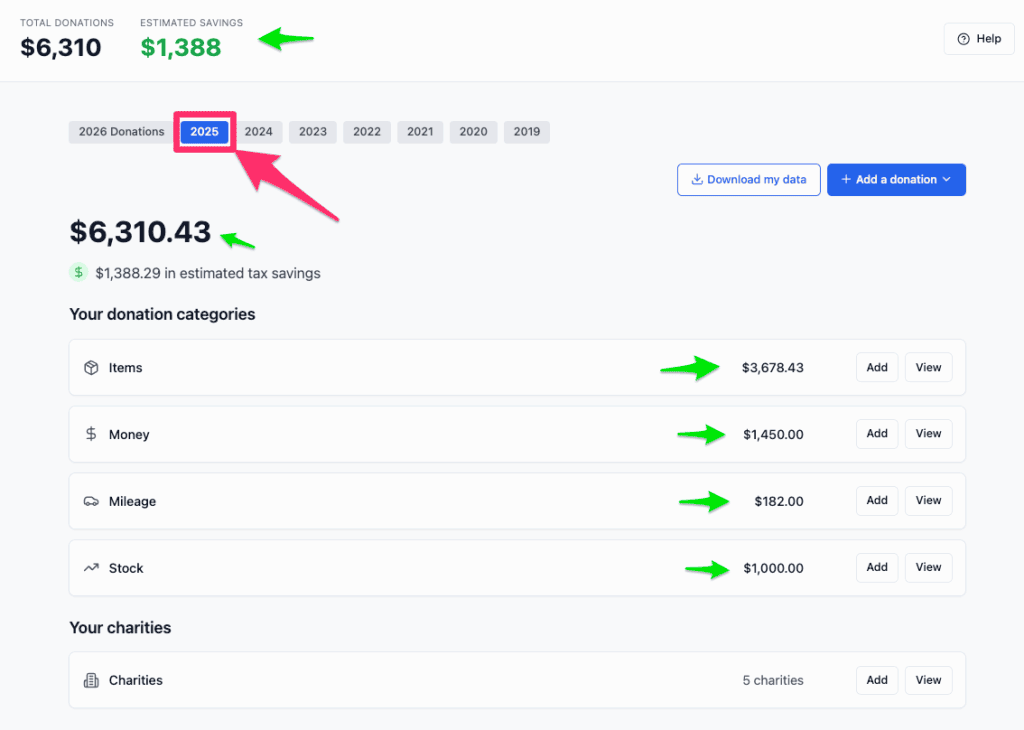
When I click on 2025 (the pink arrow), it updates all of the values for the green arrows to my 2025 donations.
4. Your donations will now be added, edited or deleted from that new tax year
Now if I click “Add” for Item donations, it will show me that I’m about to add a 2025 Donation:
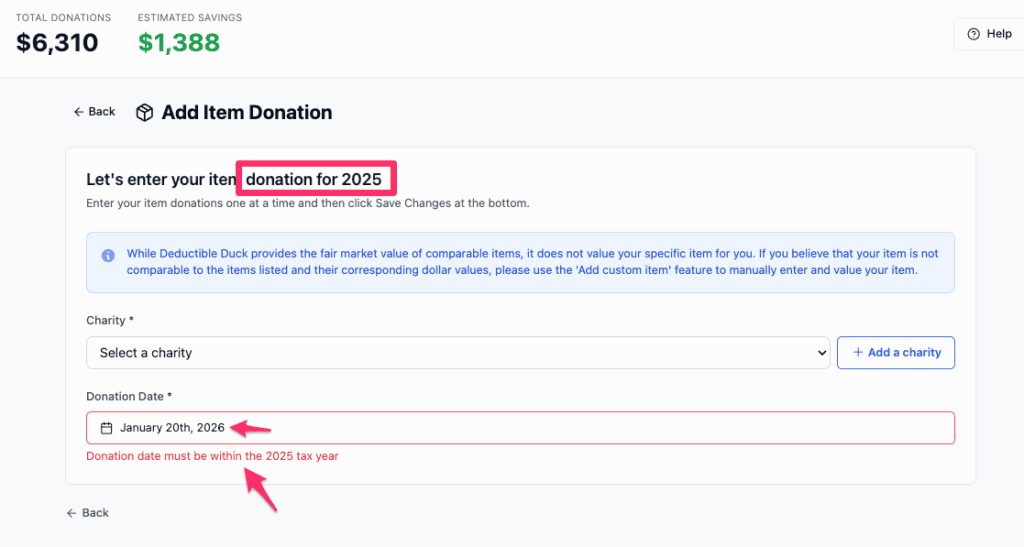
And more importantly, it won’t let me add a date that isn’t in 2025 (Jan 1, 2025 through Dec 31, 2025). Donations made in 2025 must be in that calendar year, so Deductible Duck will check to make sure your donation date aligns with the current, selected tax year.
Can I move donations from one tax year to another?
If you want a donation in 2025, you must enter it in the 2025 tax year. Right now, you can’t switch or move a donation from one year to another year. Make sure you have things entered in the correct year by checking the Dashboard before you start entering donations!